 I just want to start by saying that we absolutely loved our Ikea kitchen and I would do it again in a heartbeat. I love how big, efficient and smooth the drawers are and I love the flexibility in cabinet finishes. They’re great for the price and easy enough to assemble, you could probably do it alone. I could go on for days about this whole process so if you see anything you want more in depth information or want to clarify just reach out, I’m happy to help! Here’s a review of our entire Ikea kitchen process from planning to ordering, pickup and assembly.
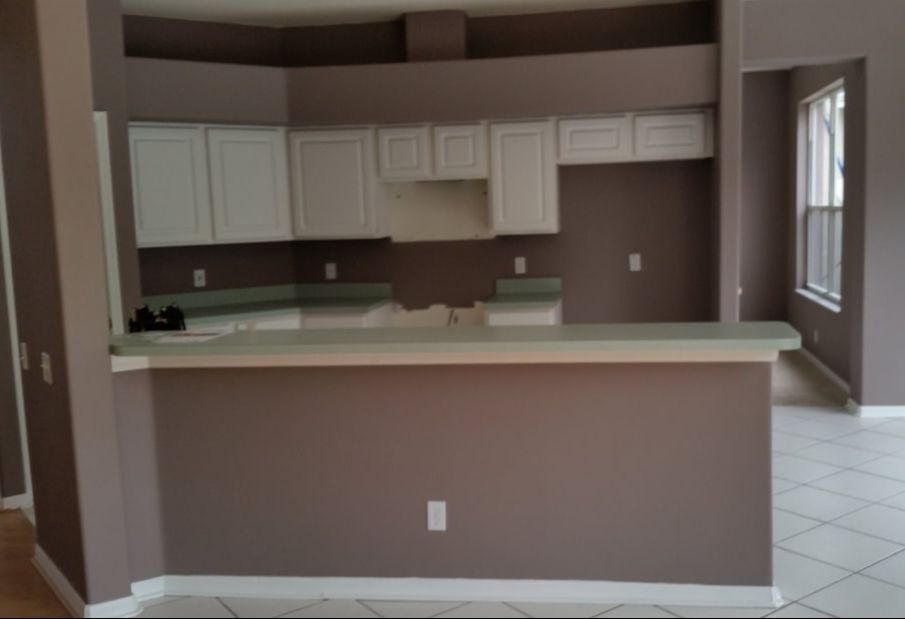
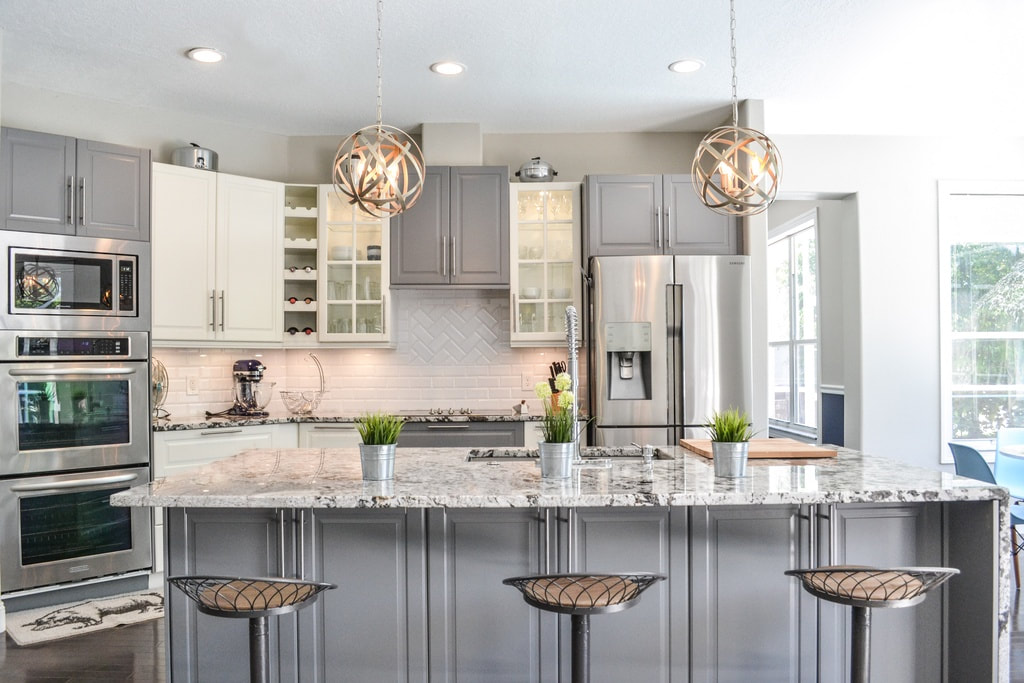
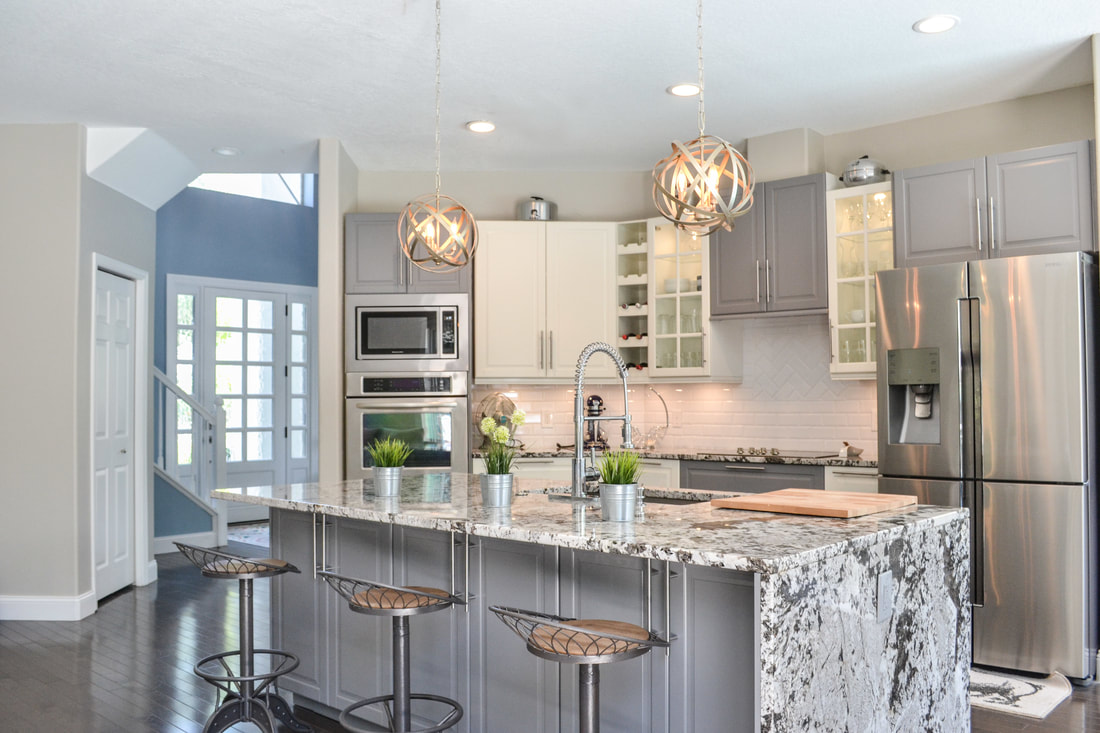
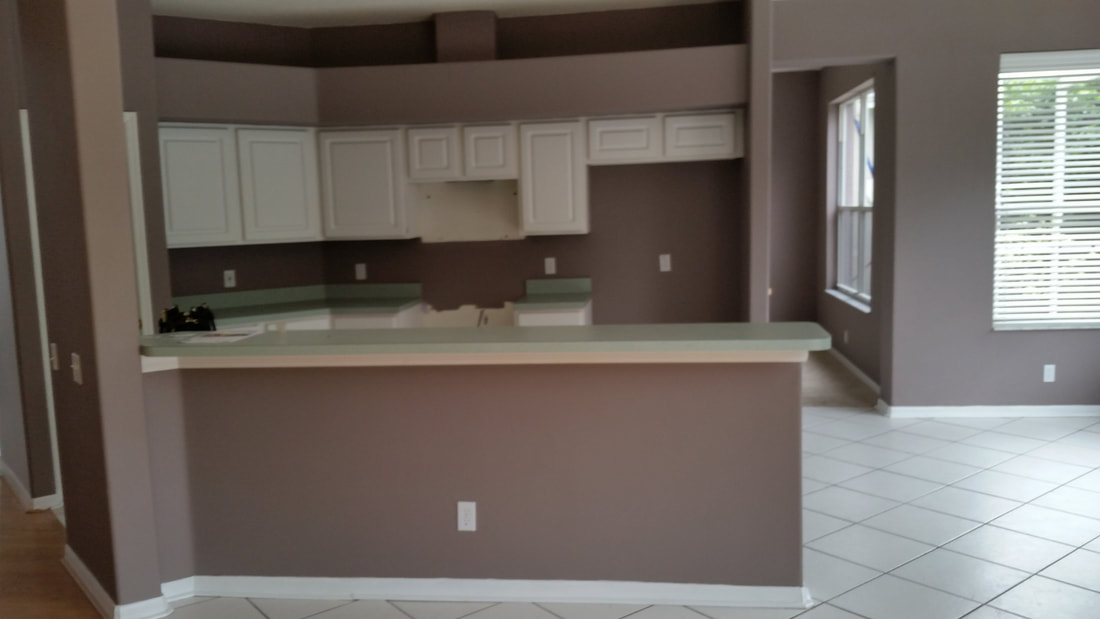
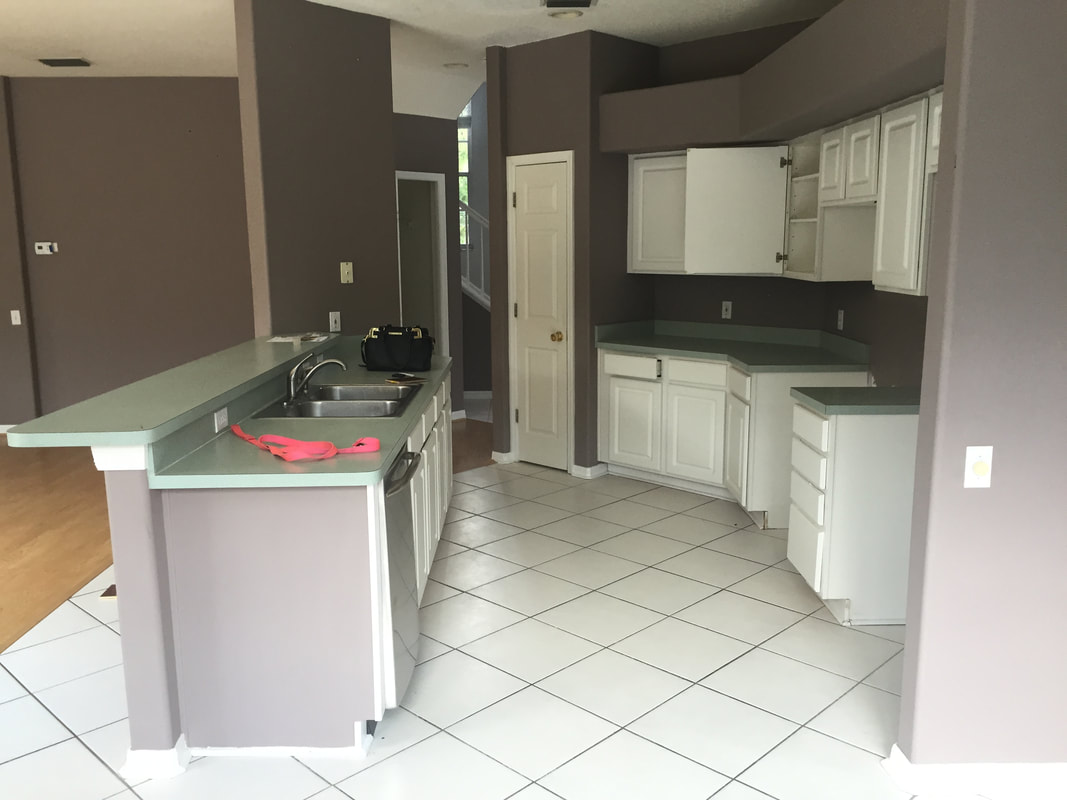
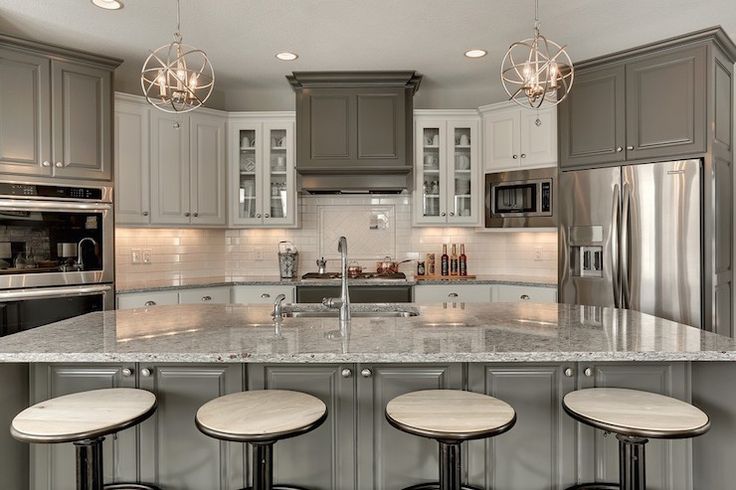
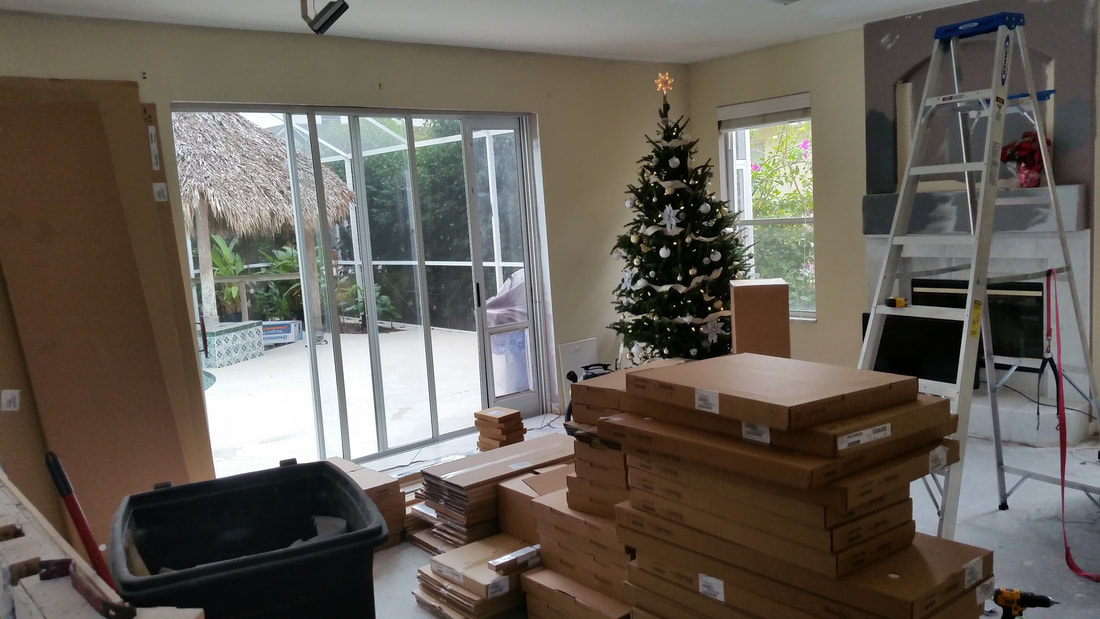
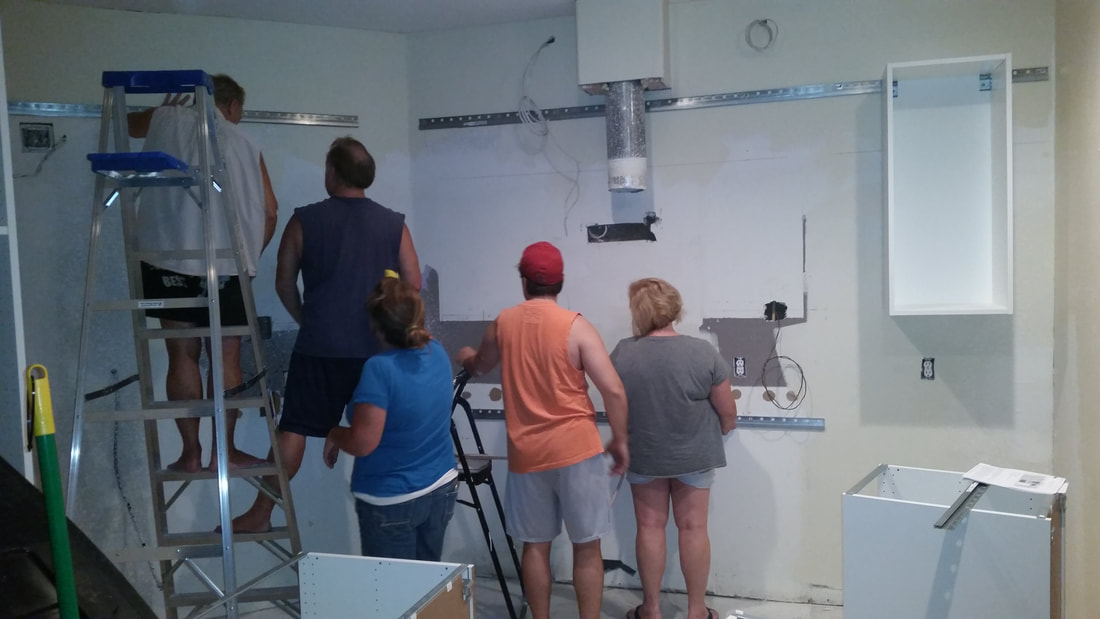
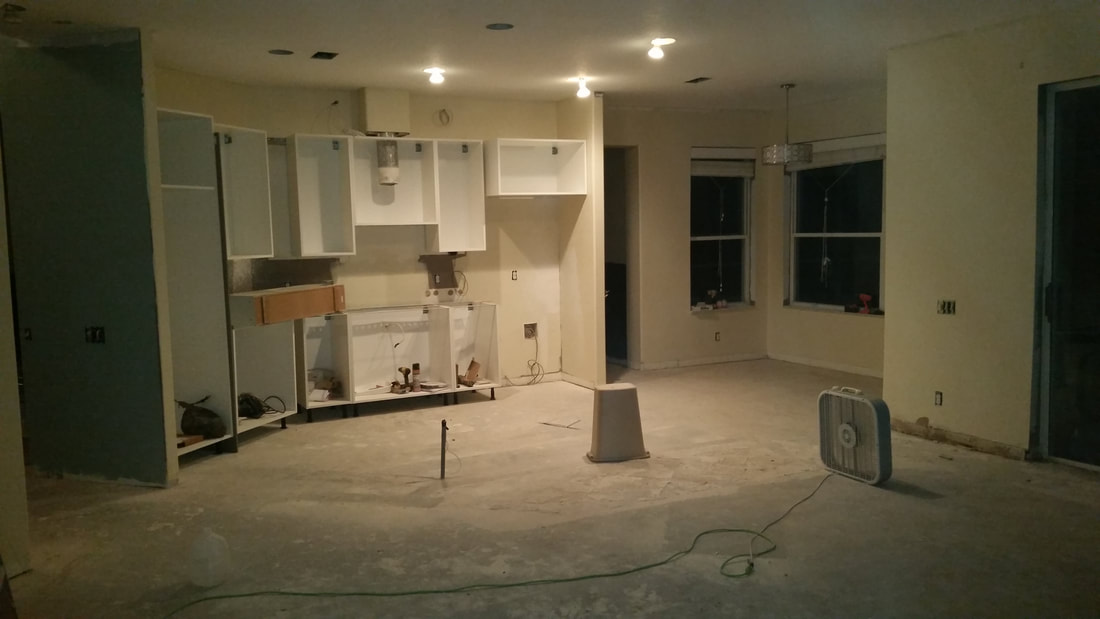
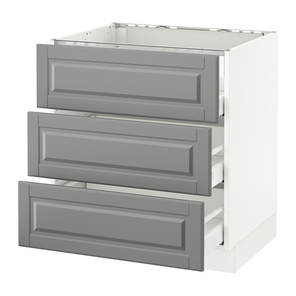
DesignWe scoured the internet for kitchen inspo and finally found a kitchen we could both agree on. We used this picture to settle any future debates about kitchen details. Once we had the general layout decided we used Ikea kitchen services to plan our new kitchen. I could not recommend this enough. It was only $250 and it saved us so much hassle since we had never planned a kitchen remodel before. Ikea uses a third party company called Traemand (at least in the Tampa Bay area) that you pay for at Ikea and they schedule the time and day while you’re at the store.  Pinterest Inspiration 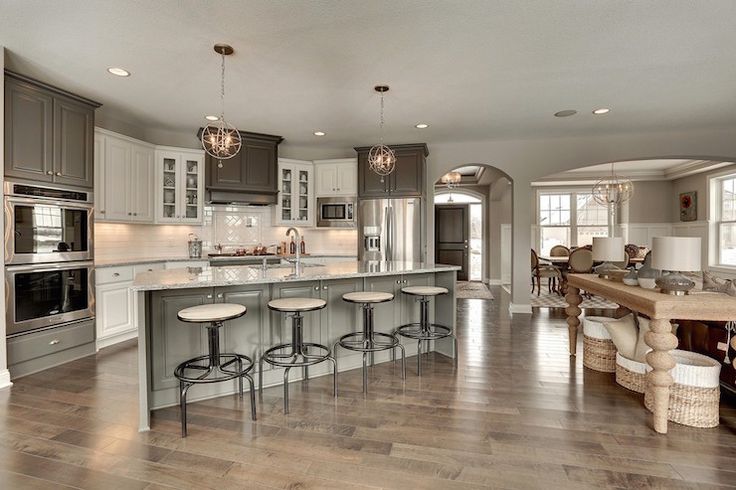 Pinterest Inspiration  Final Kitchen  Final Kitchen Before the Traemand rep comes out, make sure you’re absolutely certain of what you want your design to be. Decide what type of cabinet you want, door pulls, interior color, sink size, placement and the appliances you will be using. This was crucial for us. We didn’t have our fridge or dishwasher picked out and we hadn’t decided if we were removing a wall on the island at this point. They do allow you to make 1 small change to the plan after it is drafted up but I couldn’t get the guy to respond to me so we just had to wing it. We printed out several pictures of our “model” kitchen for the Traemand guy to reference. He measured the walls and took down the measurements of the appliances we did have. There were a few things that we had to decide upon while he was there; how many drawers in each cabinet, type of cabinet lighting, interior cabinet color, drawer pulls, and cabinet placement . If you don’t know what you want when they come out, they’ll ask you or they’ll just decide on options for you. Ie if you don’t know what handles/pulls you want, this isn’t going to be a big deal, you can change them when you place your order at Ikea. I impatiently waited and finally a week later we had the new kitchen plans! They give you access to their website in which you can see different views of the kitchen. The website also has the itemized pdf that you will need to printout and bring to Ikea when ready to order your new kitchen. 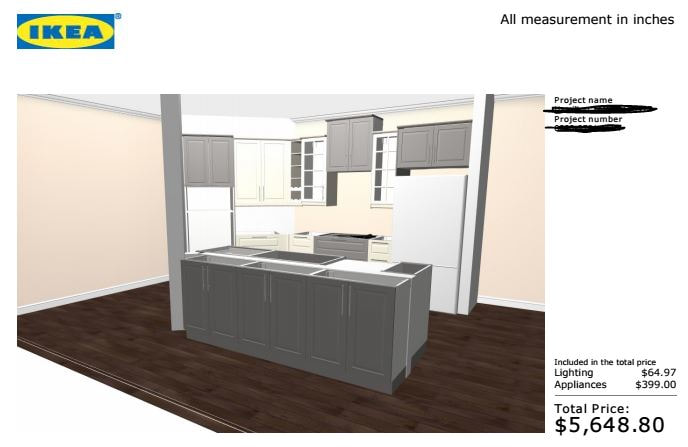 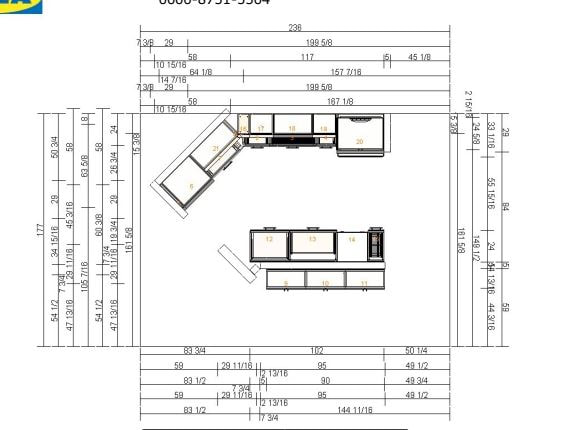 You can see the original plan included the wall on the island, which we took out. Ordering the Kitchen The day had come. We finally got to go to Ikea to order our kitchen. All of the blogs that I had read about this step sounded like pure agony. Some suggested getting there when they first opened and expect to spend 5 hours there. This was not the case for us. I’m not sure if this was us due to having Traemand designing our kitchen for us or what. But we got there at 8 o’clock at night and we were done by 9:30. You have to go to the Kitchen department and have an employee input the entire order, piece by piece, that is why it takes so long. You can choose to pick everything up in the store or have it delivered. I believe it was less than $100 to have it all delivered. Pick UpIf you’re lucky, like we were, you’ll be in the delivery zone for Ikea to delivery your kitchen directly to you. I would HIGHLY recommend this option. We had 202 pieces to our kitchen, I repeat 202 pieces!! You can see from the picture that it filled up our entire family room. They suggest that you count them as they bring them in to make sure you get all the pieces needed 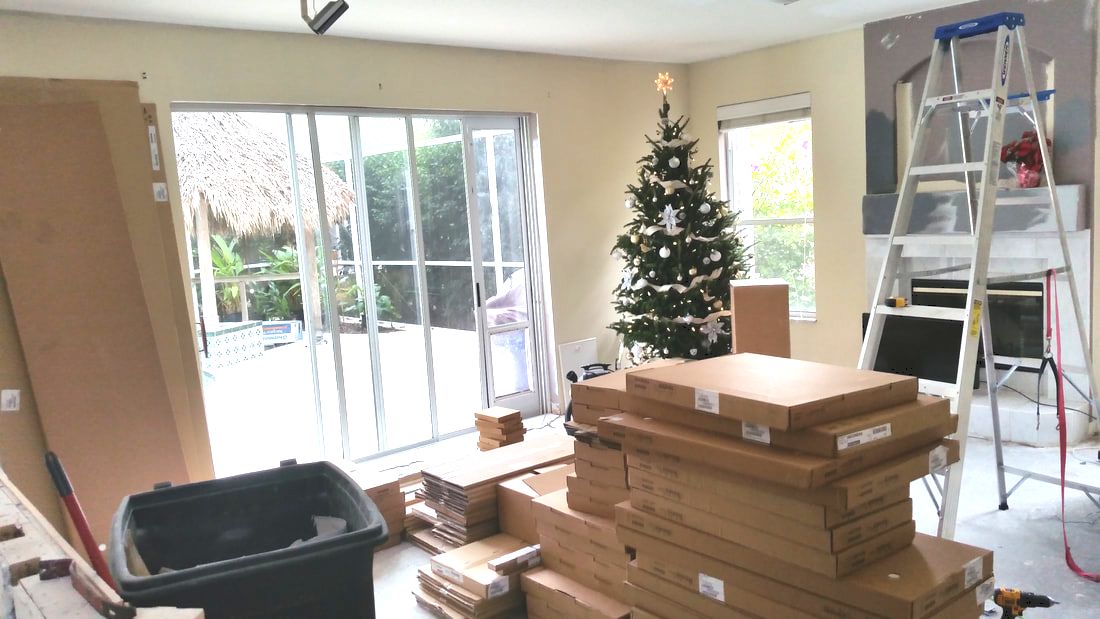 Assembly Once we had our living room full of boxes I decided to sort the boxes by cabinet so that we could assemble them one at a time. Each drawer is in its own box and each base comes in it’s own box. I wouldn’t suggest sorting them like this, I would just build the base cabinets and worry about the drawers later. Each box also comes with its own set of instructions, screws, and misc other pieces. There is also a guide that Ikea gives you when you purchase your kitchen, make sure you keep this, it will come in hand when you’re ready to hang your cabinets. Nic and I ended up building all the base cabinets in one night and we had races to see who would finish first. Once you build your first base cabinet they go by fast. I think we got our time down 10 minutes per cabinet. The one negative I should say about the cabinets is that the back is flimsy, it’s like compressed cardboard. You won’t ever notice this, its just something to keep in mind if that bothers you. It was during this step that the electricians finished up their prep work and the drywall fixed. We removed the soffit during demo so that we could have taller cabinets so the drywall guys fixed all of the holes the elctricans made and the ones we made. We didn't paint the upper area since we didn't know what color we were using at this point. If you know your paint color I would highly suggest painting anything that will not be covered by tile since it is much easier to access now. 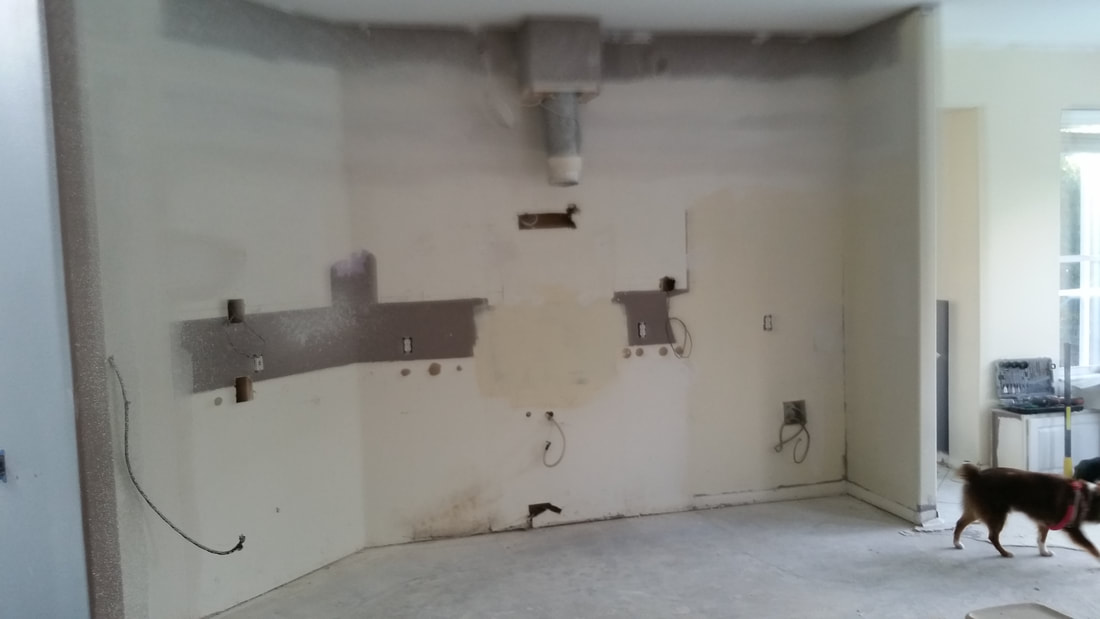 Hanging Cabinets Once you have the base cabinets assembled, next comes the rails that they hang on. This is probably the trickiest step in the process. We had family in town so it ended up being the most chaotic step as well. It does help to have an extra set of hands and an extra ladder. A few things to keep in mind when measuring the height of the rail:
You also want an appropriate distance between the countertop and top cabinet, you can google the average distance. I would suggest to err on the bigger side, it gives a more grandiose feel. Now is the fun part of hanging the rail. The rail holes need to line up with the studs. So the first step is marking the studs and the second is measuring the length of rail that you’ll need so that the rail can be hung into each stud. We cut the rails with our sawzaw that had a metal cutting blade on them. I had read that Home Depot would cut them for you for $5/cut but when I took them into home depot they said they couldn’t do it. So if you don’t have a good saw, you can check out your local home depot to see if they can cut them for you. Once you have the rail cut and the studs marked, its time to screw them into the wall. The rails come with small square shaped brackets that act as washers to lock the screws into the rail. You do have to purchase your own screws, they are not included. Now comes in the extra set of hands. Keeping the rail level and screwing it into the wall is a tricky task. Being level is also very important when hanging the cabinets so that they all fit together perfectly on the rail and that there are no gaps between cabinets. Now that the rails are up you can hang the cabinets onto the rails. This is a pretty easy step. The bigger the cabinet, the heavier they are…obviously. So the “high cabinets” are a little more difficult to maneuver onto the railing. The cabinets have a flange that you install on the back of them when assembling the cabinet and the flange just fits right into the railing. Once the cabinets are in the right place there are little plastic locks that slide into the flange that lock the cabinet in place. I also read about people installing a strip of wood behind the cabinets at the bottom so that they could further secure the cabinet to the wall. We did not see the need for this but it wouldn’t hurt if you’re worried about the stability.
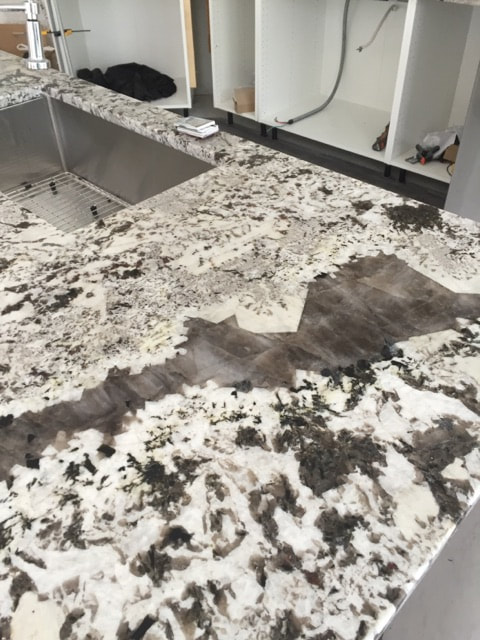
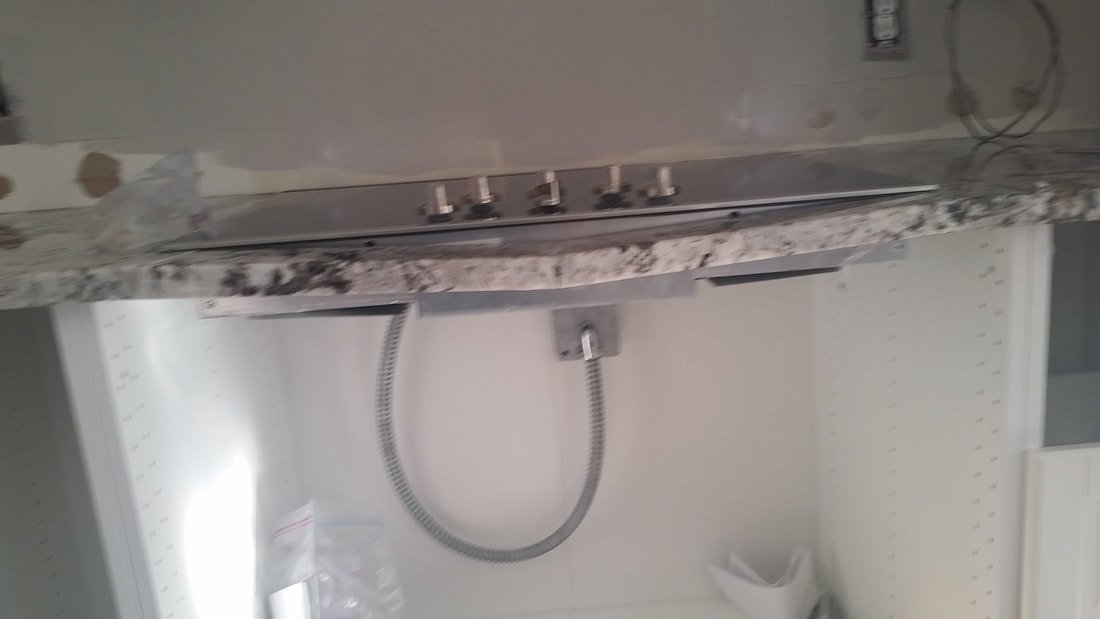
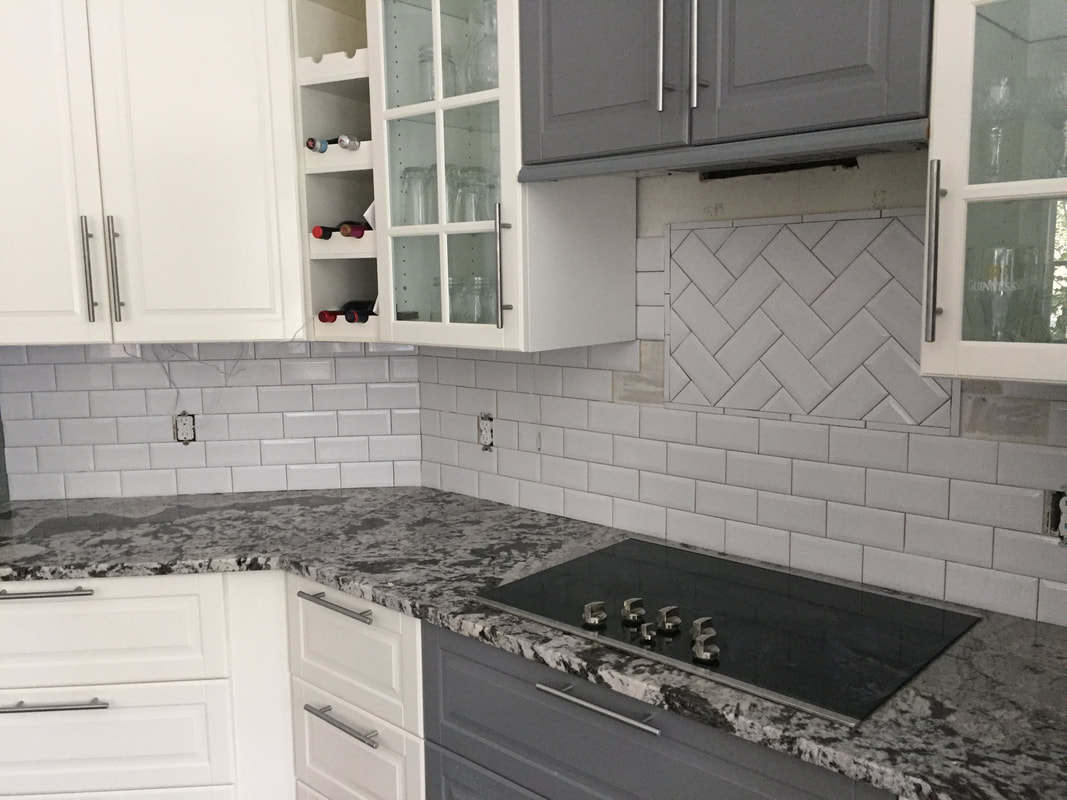
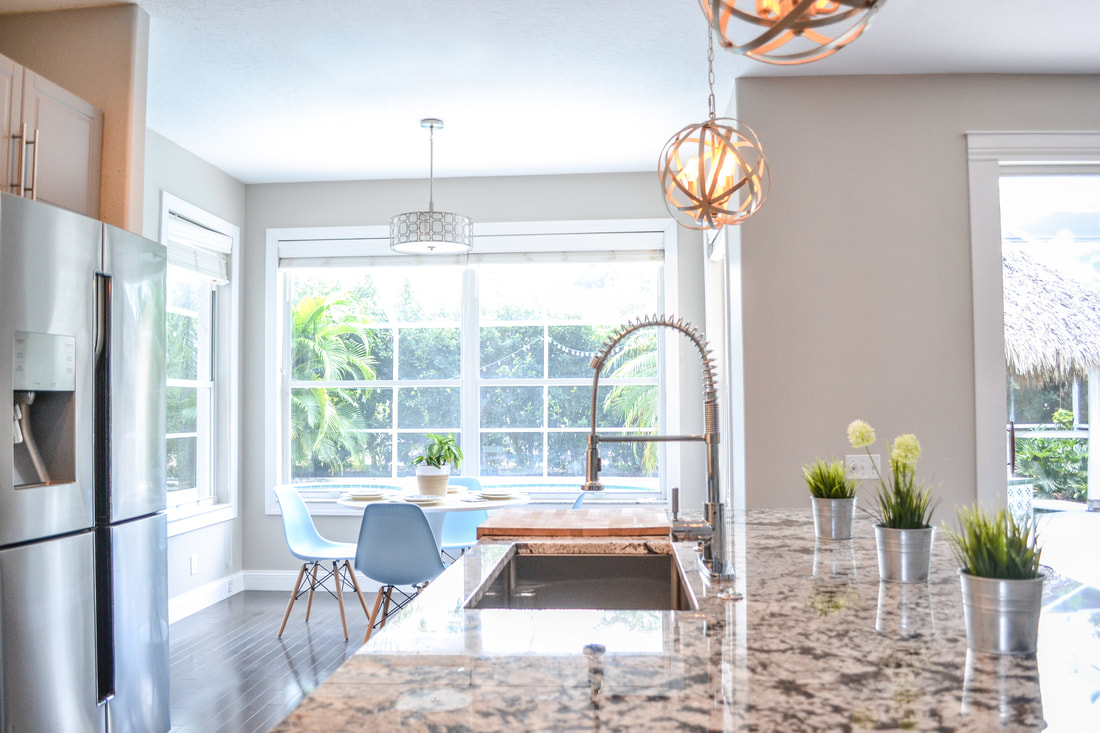
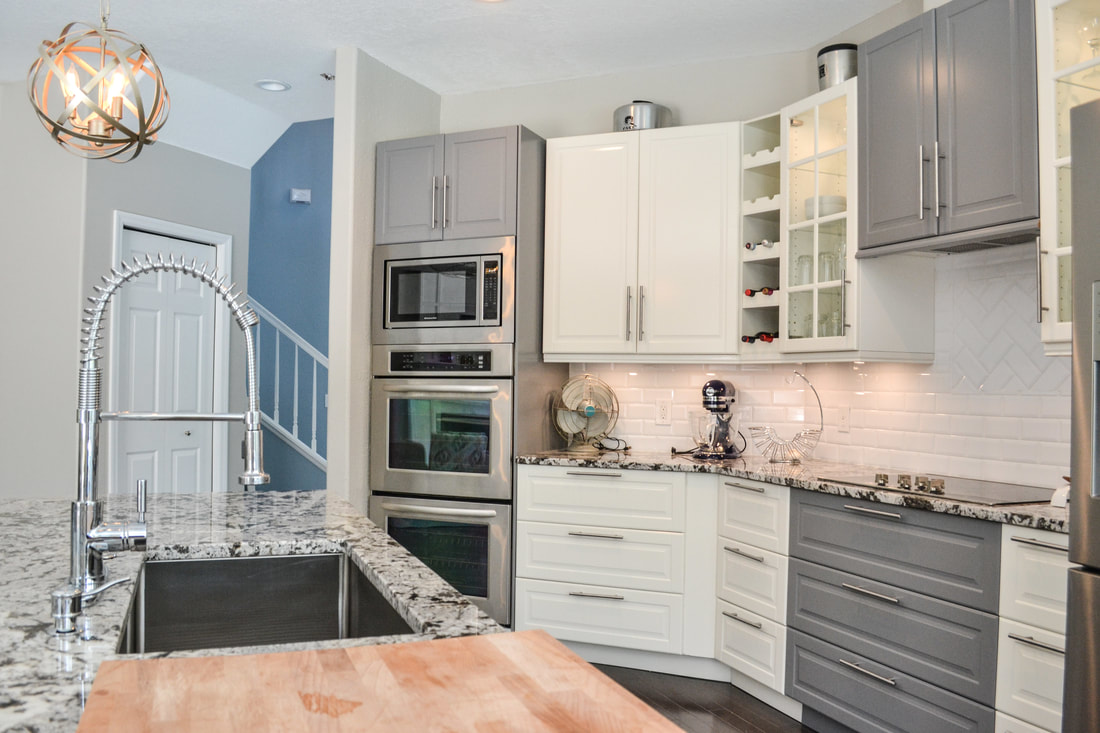
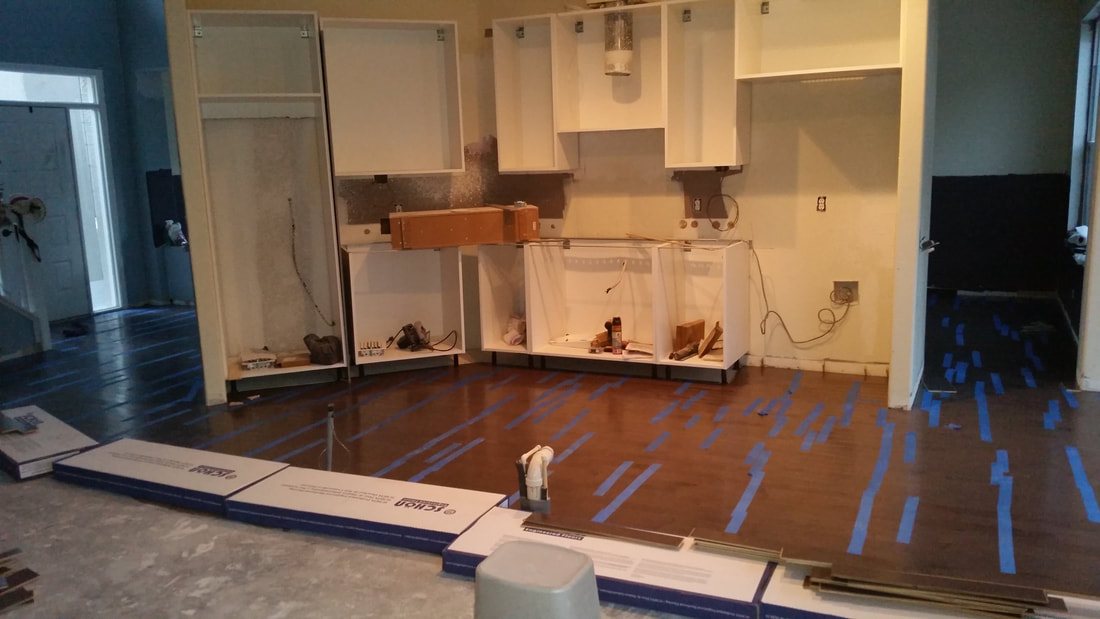 Mid-Flooring Install IslandOur original kitchen had an island but it was attached to a floating wall. We made the decision to remove the floating wall to open the kitchen. This created some electricity issues but you can read about how we rerouted the electrical in this post. Everything I read online said to install the floors before doing the island in case the future owners ever wanted to change anything. I don’t think this really matters in the end since we glued the base to floor, ultimately ruining the floor below it. Where it did help us out- it gave the island a little more height to match the base cabinets on the wall. This is something you really have to take into account when planning the rail height of the wall cabinets. We created a base for the island out of 2x4’s. What we didn’t take into account was that a 2x4 is actually 1.5”x 3.5”. So the wood floor height was about 1/2” and the 2x4 added 3.5” so we had a total base height of 4 inches and the wall cabinets did not have flooring or a base . The half of an inch we lost made it impossible for our dishwasher to fit…so the dishwasher that was given to us that was practically brand new was useless and we had to buy a special bosch dishwasher for $900 that was just small enough to fit in the space we created. This 2x4 confusion also caused issues with the base boards since they were 4” wide. We ended up just cutting ½” off the length of the base board so it wasn’t as big as a loss as the dishwasher but still annoying. So back to the base we made. Our island was designed with cabinets on both sides since we didn’t have a lot of cabinet space and wanted extra storage. The sink was right in the middle and the dishwasher was at the end, to the left of the sink. Nic designed the base so there were 2x4s running the length of the island, supporting the middle/back of each row of cabinets. And from there he made little pieces jut off so that the middle/front of the cabinet had support but it did not interfere with the feet on the bottom of each cabinet. I tried to dig up a picture of the layout but couldn’t find anything so I just drew up a quick plan of what it looked like. 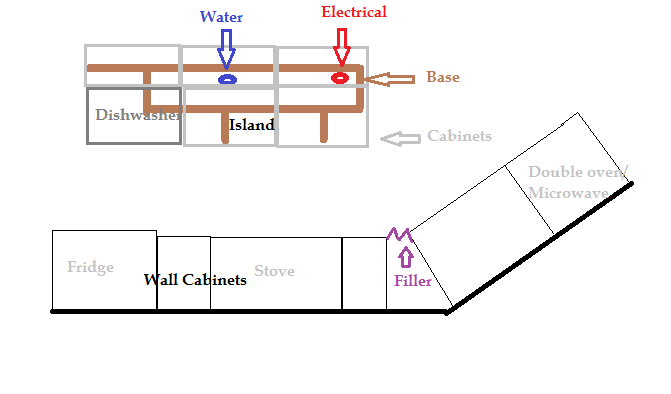 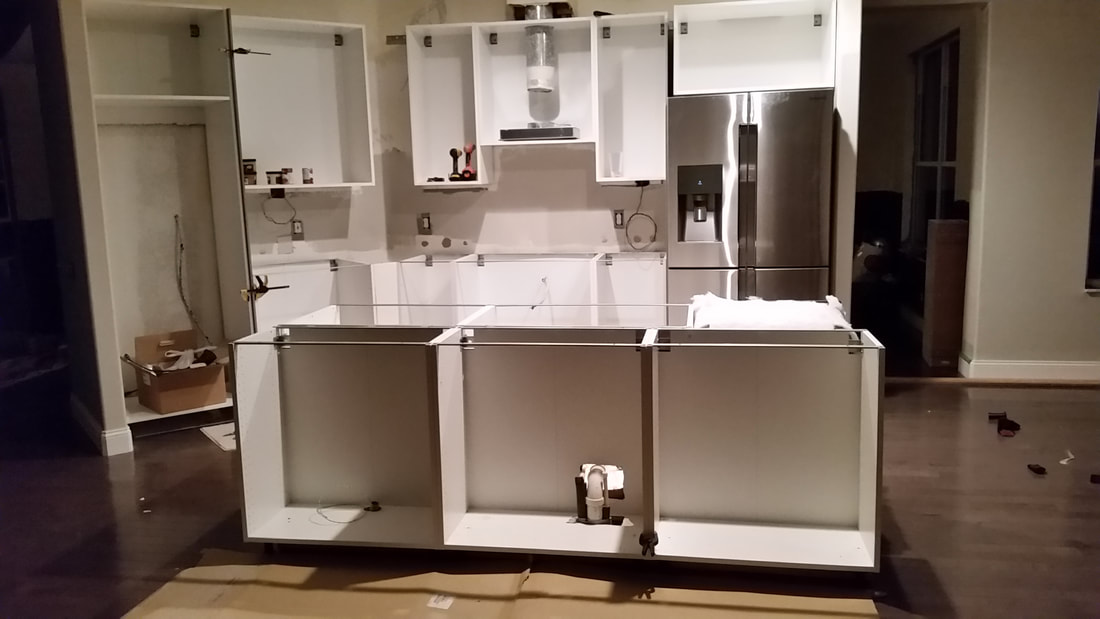 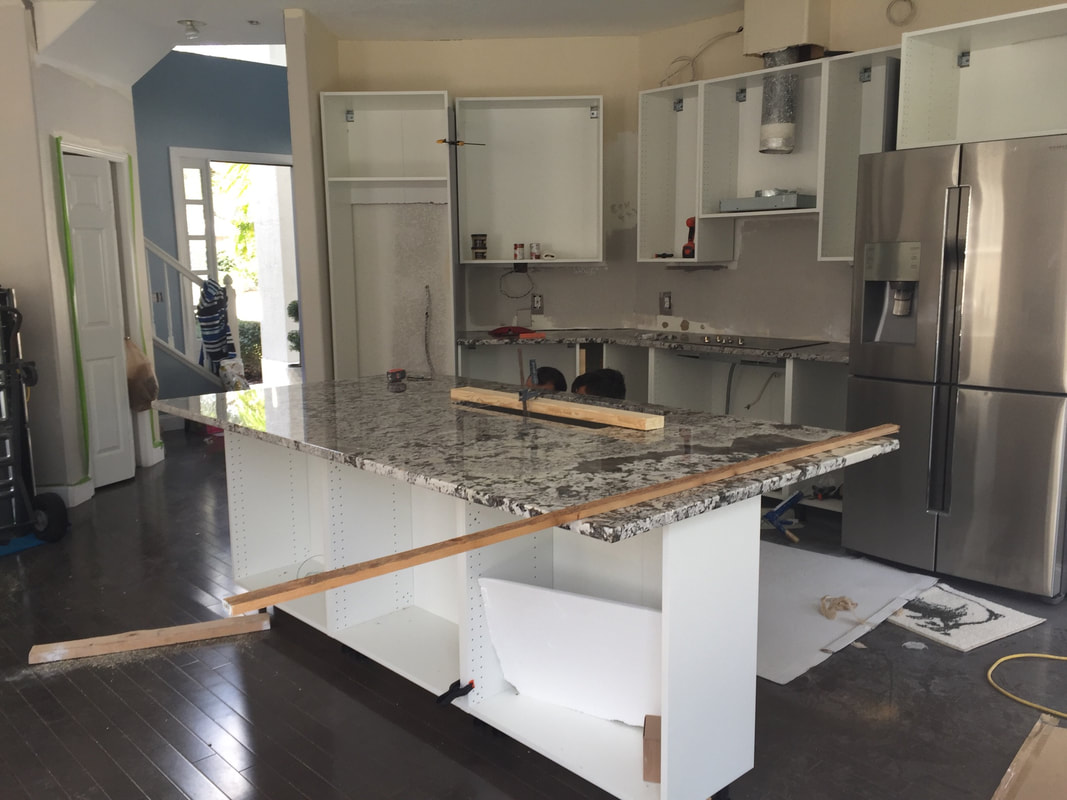 CountertopsThis was the biggest learning phase of all. I am quite the impatient remodeler, I’m ready to move on the next step without the first step being completed. I made the huge mistake of ordering the counters before the island was fully installed. We were still working on getting the island cabinets installed the night before the countertops were supposed to come. We were so busy we didn’t have enough time to figure out a way of securing the cover panel to the end of the island so that the empty space where the dishwasher was going would have some support to it. So when the countertops were installed we had 1/5 of our brand new, heavy-ass granite just hanging with nothing supporting it…we constantly thought it was going to fall over or someone was going to break it. My impatience also caused us to miss one step in assembling the Ikea cabinets- the countertop supports on the sink and stove cabinets. This was the biggest mistake in our entire remodel. Ikea’s instructions don’t go into detail about each and every part that is ordered. So when you get a box full of these little metal brackets, you should probably figure out what they’re for instead of waiting until the end, after you’ve broken your brand new countertop. That’s right, we broke our granite countertop. It was the most disheartening feeling I had felt in a long time. I’m not going to point any fingers incase he’s reading this but -> he did it. There are metal brackets that go across cabinets that are holding sinks or cook tops so that you have extra support for the counter and the cabinet. So when Nic decided to shift some of his weight onto the counter while climbing a step stove, the tiny sliver of counter that lined the front of the cooktop crumbled into 3 separate pieces. (There’s more about countertops in this post). Another thing we screwed up was the placement of two base cabinets on each side of the cooktop. After everything was installed we realized we had switched around a 15” cabinet with the 18”, this caused the cooktop cabinet to not line up with the vent cabinet. Normally these few inches wouldn’t be a big deal, but since we had an offset design of grey and white cabinets it was very noticeable. I bought some granite glue on Amazon and fixed the broken spots in front of the cooktop. It was hardly noticeable but if you ran your hand across it you could feel it. This was a quick fix that we later decided needed to be redone. So we replaced the granite piece where the cooktop was and we also added a waterfall piece to the end of the island where the dishwasher was.. Even with a cover panel at the end of the island we still did not feel comfortable with the amount of weight not being supported over the dishwasher. When the granite was removed, we also switched the 2 base cabinets around so that the cooktop would line up with the vent. Broken Granite by cooktop Waterfall island island granite
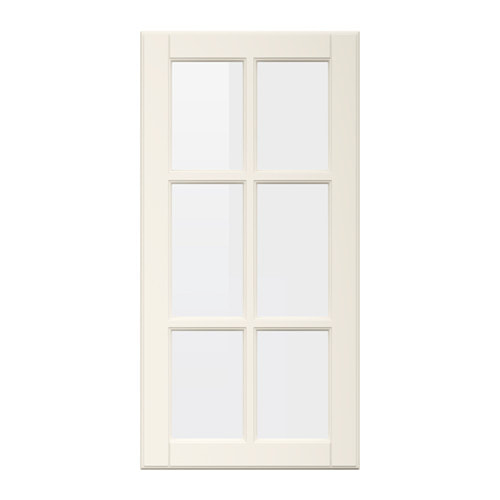
Filler PiecesUndoubtedly you will have an awkward empty space between cabinets or up against a wall. This is where the filler pieces come in handy. In our kitchen we only had one filler piece in the corner between two cabinets. Since it was on an angle it was a bit tricky to attach it to the cabinets. My solution was attach a thin piece of wood to the back of the filler piece so I could screw into that without splitting the face of the filler piece. 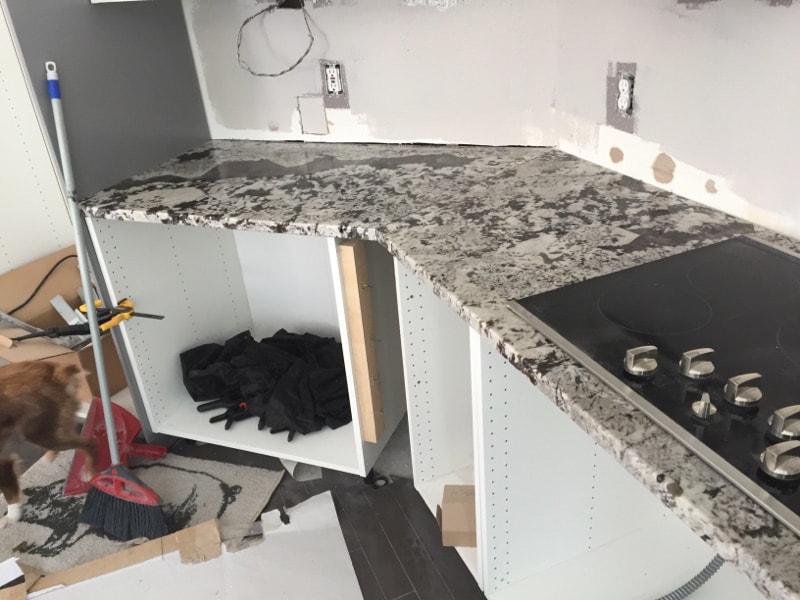 Drawers, Doors & HandlesThe drawers were probably the most frustrating part of the whole process. Each drawer comes in a separate box and in this books comes a little booklet with different templates for the drawers. After many failed attempts of getting the drawer front to line up with the guides properly I had to mark on the diagrams which holes in the cabinet lined up with the rails and which holes to us when attaching the drawer front. I found out that I had attached many drawer fronts too low on the drawer so when they were in the cabinet they didn't line up properly. I would recommend assembling one entire cabinet set of drawers before you tackle them all so that you know exactly which holes line up with your drawer configuration. For the handles I just made a cardboard cutout that lined up with the top of the cabinet so I didn't have to measure and level each one. Of course you'll have different width cabinets but your handle width will never change. I just taped my cutout on the drawer or door and drilled my holes. This sped up the process immensely. When you purchase your kitchen you actually have to purchase your handles separately so if you ever need more or decide to change the style its very easy. Project PhotosRelated Products
Related Posts
1 Comment
Tamie
9/30/2018 10:53:36 pm
This is really helpful, thank you! Leave a Reply. |


 RSS Feed
